- Celebrating 15 years of global event tech solutions
- | +16027370011
- | Hire@oneworldrental.com
How to Screen Record on Mac (Step-by-Step Guide)

WiFi 6 vs WiFi 6E: What’s the Difference in 2025?
April 16, 2025
When Did the iPod Come Out?
April 21, 2025
Need to record your screen on a Mac?
MacOS offers several easy ways to screen record—no extra software needed- whether for tutorials, presentations, or capturing gameplay.
This guide covers built-in options like the Screenshot Toolbar and QuickTime, plus recommended third-party tools for more advanced features.
You’ll also get quick tips, shortcuts, and troubleshooting help.
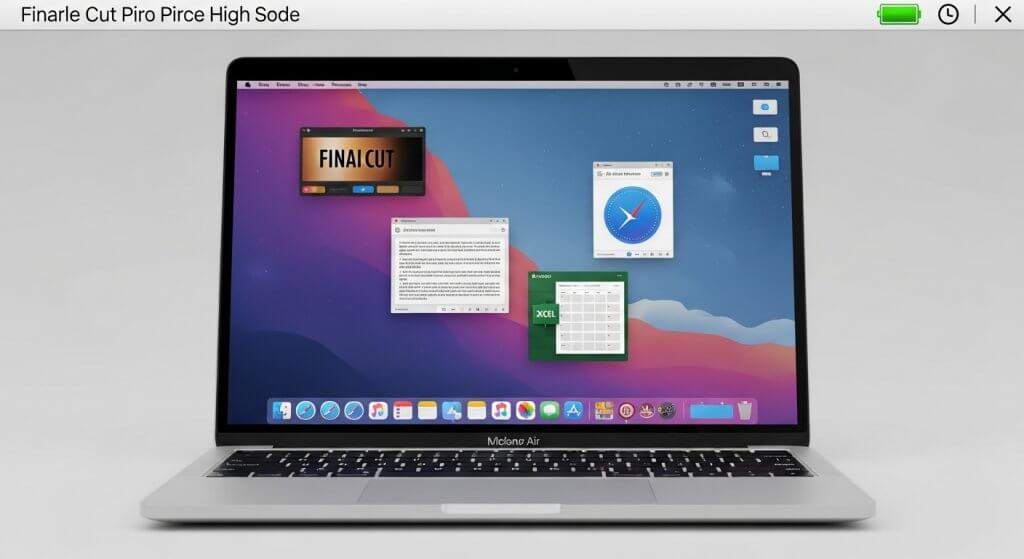
Use Mac’s Built-in Screenshot Toolbar
macOS includes a powerful screen recording tool baked into the Screenshot Toolbar.
You can use it to record your entire screen or just a specific area.
Record the Entire Screen or a Portion
- Press Shift + Command + 5 to open the toolbar.
- Choose:
- Record Entire Screen
- Record Selected Portion
- Click Options to choose:
- Where to save
- Whether to record audio from a microphone
- Show/hide mouse clicks
- Click Record to begin.
This tool is ideal for quick recordings and doesn’t require any installation.
It’s available on macOS Mojave (10.14) and later.
Use the selected area option if you want to highlight just a window or part of your screen.
Stop and Save Your Screen Recording
To stop recording:
- Click the Stop icon in the menu bar (top right), or
- Press Command + Control + Esc
Once stopped:
- A thumbnail appears in the bottom-right.
- Click it to preview, trim, or save.
- By default, recordings save to your Desktop unless changed in the Options menu.
This feature is perfect for simple how-tos, walkthroughs, and system demos.
Record Screen Using QuickTime Player
QuickTime Player is another built-in option that lets you record your screen, optionally with microphone input.
It’s useful if you’re on older macOS versions or want a bit more control.
Record with Microphone Audio
- Open QuickTime Player
- Click File > New Screen Recording
- In the pop-up:
- Click the dropdown arrow next to the record button
- Select Microphone if you want to include audio
- Choose:
- Full screen (click anywhere)
- Custom portion (drag to select)
- Click the Record button
This method is helpful for narrating tutorials or voice-over walkthroughs.
Save and Edit Your Recording
To stop recording, click the Stop icon in the menu bar.
Your file opens automatically in QuickTime, where you can:
- Preview the video
- Trim the start/end (go to Edit > Trim)
- Save it as .mov, or export in other formats via File > Export As
QuickTime is a stable, easy solution for most Mac users.
It’s lightweight and doesn’t require extra permissions for basic use.
Best Third-Party Screen Recording Tools for Mac
If you need advanced features like webcam overlays, annotations, or high-resolution exports, third-party tools are worth exploring.
Here are two top-rated options:
OBS Studio
OBS Studio is free, open-source, and ideal for streamers or power users.
Features include:
- High-quality screen capture
- Webcam and audio integration
- Real-time editing and transitions
- Streaming to Twitch, YouTube, and more
It takes a bit of setup but offers full control over your recordings.
Best for gamers, educators, and content creators.
CleanShot X
CleanShot X is a paid app designed for Mac users who need fast, clean screen captures and recordings.
Highlights:
- Record screen with or without webcam overlay
- Add annotations, blur sensitive info
- Upload and share instantly
- Native macOS design and shortcut support
If you want an all-in-one screenshot and screen recording tool, this is a top pick.
Great for business, tutorials, and marketing content.
Tips for Better Screen Recordings on macOS
- Use a microphone: Internal mics work, but external mics provide better clarity.
- Plan your screen flow: Close unused apps and notifications to keep the screen clean.
- Use keyboard shortcuts to save time and reduce editing later.
- Test audio levels before starting a full recording.
- Trim your video afterward to remove unnecessary parts.
Keep your desktop tidy and apps organised before recording.
It helps your audience focus and avoids distractions.
Screen Recording Solutions for Events with One World Rental
If you’re hosting a live event, training session, or product launch and need professional tech equipment, One World Rental offers customized solutions across the United States.
We provide:
- MacBook Pro and MacBook Air rentals with the latest macOS
- Pre-installed software for screen recording, video editing, and live streaming
- High-performance accessories, including microphones and external webcams
- On-site technical support for seamless execution
Whether you’re capturing a virtual keynote or recording software tutorials during a live event, our equipment ensures professional-grade results without the hassle of setup.
Serving major US cities, including New York, Los Angeles, Miami, Chicago, San Francisco, and Dallas, One World Rental helps businesses and event organizers deliver impactful digital experiences.
Why choose One World Rental?
- Fast delivery across the USA
- Flexible rental terms
- 24/7 customer support
- Expert configuration services
Let us handle the tech so you can focus on creating content that matters.
👉 Learn more about our MacBook and AV rental solutions at One World Rental USA
Common Troubleshooting FAQs
Q: Why can’t I screen record on Mac?
You may need to grant permissions. Go to System Settings > Privacy & Security > Screen Recording, then enable it for your app.
Q: How do I screen record with internal audio?
macOS doesn’t allow internal audio by default. Use tools like Loopback Audio or BlackHole to route system sound into your recording.
Q: Where are my screen recordings saved?
By default, to your Desktop. You can change this in the Screenshot Toolbar options.
Q: Is screen recording available on MacBook Air?
Yes, all modern MacBook models (Air and Pro) support screen recording features.


