- Celebrating 15 years of global event tech solutions
- | +16027370011
- | Hire@oneworldrental.com
How to Connect a Canon Printer to WiFi: A Step-by-Step Guide

How to Connect Alexa to WiFi: A Simple Guide
February 4, 2025
How to Screenshot on a Chromebook: A Simple Guide
February 5, 2025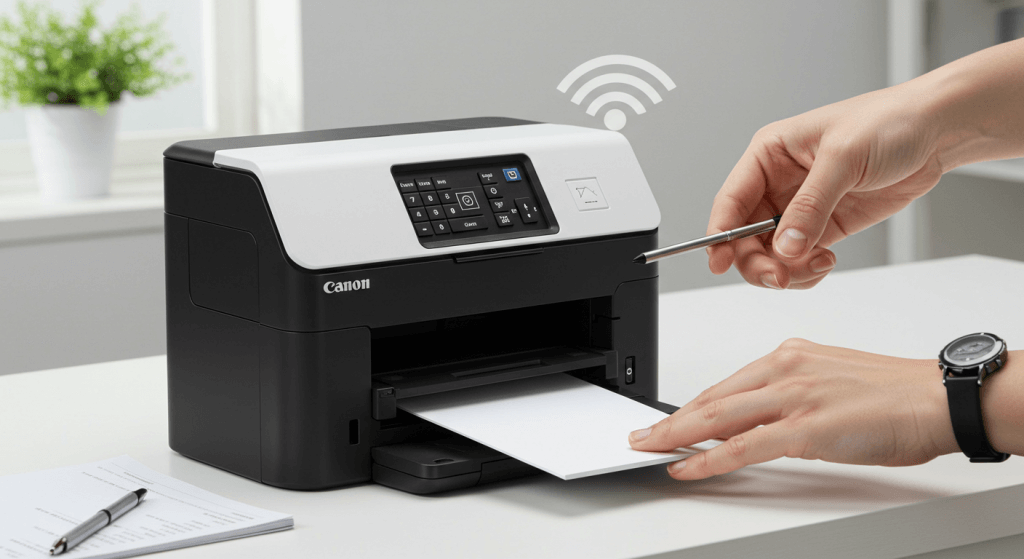
In today’s wireless world, printing without the hassle of tangled cables is a game-changer. Canon printers are widely known for their reliability, and connecting them to WiFi makes printing documents and photos effortless from any device. Whether you’re setting up your Canon printer at home, in an office, or for an event, this guide will walk you through the process step by step.
Step 1: Check Printer Compatibility
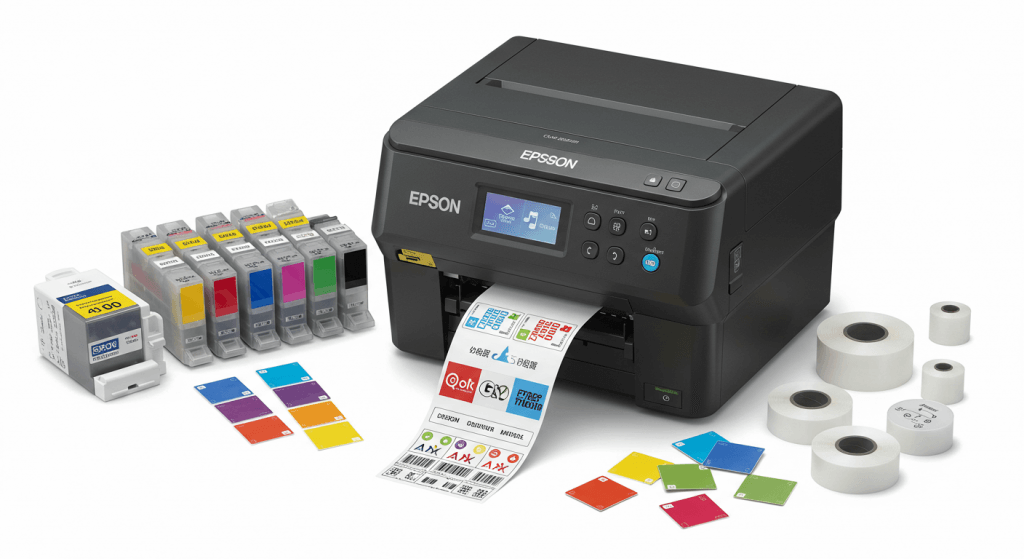
Before starting, ensure your Canon printer supports WiFi connectivity. Most modern Canon models, including the PIXMA, imageCLASS, and MAXIFY series, come with built-in wireless features.
Step 2: Prepare Your WiFi Network
Make sure you have: ✔️ A stable WiFi connection
✔️ Your WiFi network name (SSID)
✔️ Your WiFi password For the best performance, connect your printer and device to the same 2.4GHz network rather than 5GHz.
Step 3: Use the Canon Printer’s Control Panel
Most Canon printers have a touchscreen or LCD panel that simplifies setup. Follow these steps:
- Turn on the printer and ensure it’s in setup mode.
- Navigate to Settings > Wireless LAN Setup.
- Select WiFi Setup Wizard (or similar option).
- Choose your WiFi network (SSID) from the list.
- Enter your WiFi password and press OK.
- Once connected, your printer will display a successful connection message.
Step 4: Install Canon Printer Drivers
For your computer or mobile device to recognize the printer, install the necessary drivers:
- Windows Users: Download the latest drivers from the Canon USA website.
- Mac Users: Go to System Preferences > Printers & Scanners, click +, and add your Canon printer.
- Smartphones/Tablets: Use the Canon PRINT Inkjet/SELPHY app, available on both iOS and Android.
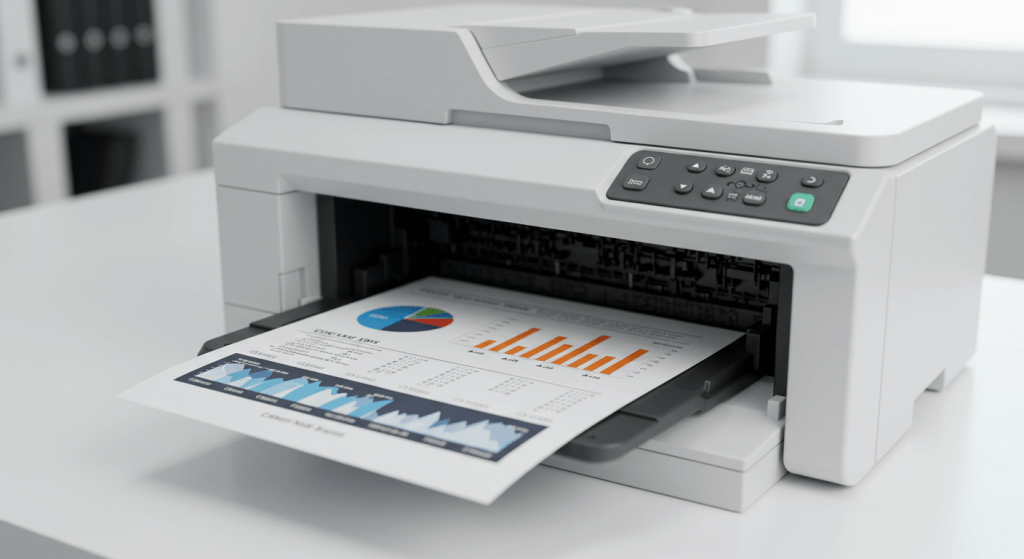
Step 5: Test Your Printer Connection
After setup, confirm that your printer is connected:
✔️ Print a test page
✔️ Check the printer’s network status via its control panel
✔️ Try printing from multiple devices
Troubleshooting Common Issues
If you encounter problems, try these solutions: 🛠 Printer Not Found? Restart your printer, router, and computer.
🛠 Incorrect Password? Ensure you’re entering the correct WiFi key.
🛠 Weak Signal? Move your printer closer to the router.
🛠 Firmware Issues? Update your printer’s software via Canon’s website.
Why Choose One World Rental for Canon Printer Rentals?
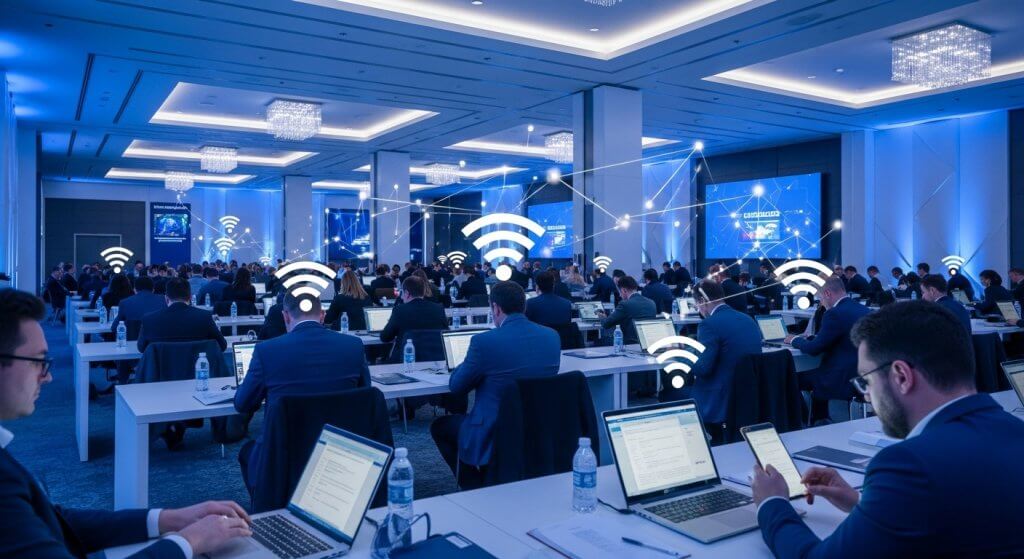
Need a Canon printer for an event, trade show, or temporary office setup? One World Rental provides short-term and long-term printer rentals with full setup assistance, ensuring seamless printing for your business needs.
✔ Latest Canon printers available
✔ Nationwide delivery & setup
✔ 24/7 technical support
📞 Contact One World Rental today for hassle-free printer rentals tailored to your event or business requirements.


