- Celebrating 15 years of global event tech solutions
- | +16027370011
- | Hire@oneworldrental.com
How to Screenshot on a Dell Laptop

How to Screenshot on Surface Pro: Quick & Easy Methods
February 19, 2025
What Is Esports? A Complete Guide to Competitive Gaming
February 20, 2025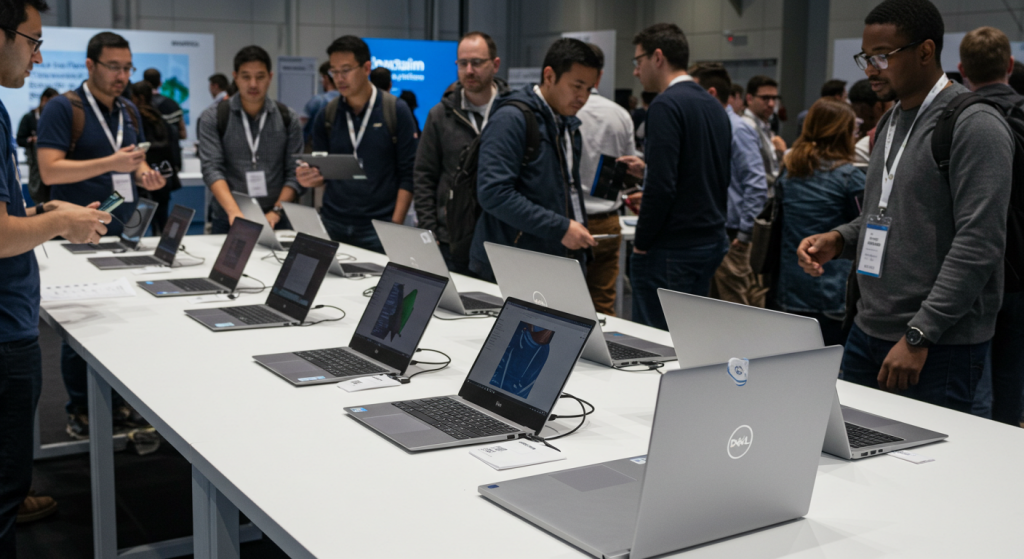
Introduction
Taking a screenshot on a Dell laptop is simple and can be done in several ways. Whether you need to capture the entire screen, a specific window, or a selected portion, Windows provides built-in tools to make it easy. This guide covers different screenshot methods for Dell laptops, including keyboard shortcuts, built-in tools, and alternative options.
How to Take a Screenshot on a Dell Laptop
Using the Print Screen Key (PrtScn)
One of the quickest ways to take a screenshot on a Dell laptop is by using the Print Screen (PrtScn) key.
- Press PrtScn: This captures the entire screen and copies it to the clipboard.
- Open Paint or any image editor.
- Press Ctrl + V to paste the screenshot.
- Save the file as PNG or JPG.
For automatic saving:
- Press Windows + PrtScn: The screenshot is saved in the Pictures > Screenshots folder.
Using Windows + Shift + S for Snipping Tool
The Windows Snipping Tool allows you to capture specific parts of the screen.
- Press Windows + Shift + S.
- Your screen will dim, and a small toolbar will appear.
- Select from Rectangular Snip, Freeform Snip, Window Snip, or Full-screen Snip.
- The screenshot is copied to the clipboard.
- Open Paint or an image editor and press Ctrl + V to paste.
- Save the file.
Using Snipping Tool Application
- Open Snipping Tool (search for it in the Start menu).
- Click New to take a screenshot.
- Drag to select the area to capture.
- Click File > Save As to store the image.
Using Third-Party Screenshot Tools
If you need additional features, you can use third-party tools like:
- Lightshot – Simple and easy to use.
- Greenshot – Offers advanced annotation tools.
- Snagit – Premium tool for professional users.
How to Screenshot on a Dell Laptop Without Print Screen
If your PrtScn key is not working, try these alternatives:
- Use Windows + Shift + S to open the Snipping Tool.
- Use the Snipping Tool application to capture and save screenshots.
- If using OneDrive, check OneDrive Settings > Auto-save Screenshots for direct saving.
How to Capture a Specific Window or Area
If you need to capture a specific window instead of the entire screen:
- Click on the window you want to capture.
- Press Alt + PrtScn.
- Open Paint or another image editor and press Ctrl + V.
- Save the file in your desired format.
For partial screen captures:
- Use Windows + Shift + S.
- Choose Rectangular Snip and select the area.
- Paste into an image editor and save.
Where Are Screenshots Saved on a Dell Laptop?
Screenshots taken using Windows + PrtScn are saved in:
- C:\Users\YourName\Pictures\Screenshots
If using Snipping Tool, you must manually save images by clicking File > Save As.
For screenshots taken via Windows + Shift + S, they are copied to the clipboard. Open an image editor to paste and save them.
Common Issues and Troubleshooting
If you experience problems taking screenshots, try these solutions:
- PrtScn Key Not Working: Ensure the Fn key is not locked.
- Screenshots Not Saving: Check the Pictures > Screenshots folder.
- Clipboard Issues: Restart your computer and try again.
- Third-Party App Conflicts: Disable unnecessary background applications.
Conclusion
Taking screenshots on a Dell laptop is quick and easy, with multiple methods available. Whether you prefer using the Print Screen key, Snipping Tool, or third-party software, you can capture your screen in just a few steps.
For those looking for Dell laptop rentals for business events, iPad Rental provides high-performance laptops tailored to your needs.
One World Rental: Your Trusted Technology Partner
One World Rental offers premium technology solutions for businesses and events worldwide. Whether you need laptop rental, tablets, or networking equipment, we provide cutting-edge technology with seamless setup and 24/7 support. Our Dell laptop rentals are ideal for conferences, training sessions, and corporate events, ensuring efficiency and reliability.
Contact One World Rental today for flexible rental solutions designed to meet your unique event needs.


